

I want to wish everyone a Happy Easter! I’ve been wanting to try marbled Easter eggs for quite a while. I have to say that it was pretty tricky to get the colors and dipping the egg just right, but once I got the hang of it, it was easy. See the image below for the items you need to make marbled Easter eggs.
NOTE: Wear disposable gloves (it makes a huge difference).

NOTE: To make a “drained egg” take a raw egg and a safety-pin. Carefully poke the top of the egg and make the hole larger by moving the safety-pin in a circular motion. Make sure you break the yoke. Flip the egg around and poke another hole. Blow through one end and empty out the raw egg. Rinse with water and let it dry.

Slowly add your color combination into the plastic container. Use your disposable chopstick or mixing stick to make a marbled pattern on the water’s surface. Take your drained egg, and dip it QUICKLY in the water. Sometimes I had to add in colors a second time and do the other side of the egg. Make sure that the design you want to see on your egg is the same design you make on the water’s surface.
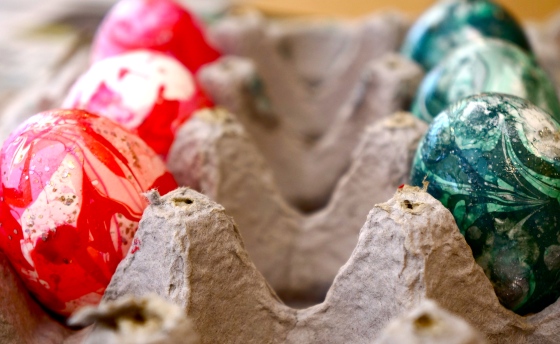
Once your egg is dipped, use your egg carton as a place to dry and store your eggs.


Once they’re dry add the eggs to your Easter basket or use them to create a colorful centerpiece. Have fun! This is the perfect project for the fashionistas who save all their nail polishes ;-). xx

Happy Easter! They look pretty. Great job.
Thank you! You too – Happy Easter xx
Those eggs are GORGEOUS. I would keep them in a bowl, and put on them on display throughout the year – not just seasonally!
http://www.thewalkupblog.com
Thanks Karen! Totally – I would love to marble different size eggs and display them. Thank you! xx Love your blog.
These are so beautiful and fun! Nail polish is a great idea 🙂 Happy Easter!
Thank you! xx Happy Easter!
Those eggs are amazing! They look so expensive! Super creative – love it! XO
http://preppyandfunny.wordpress.com